Below are pictures of some of the content that was found in my portfolio for university. I couldn’t add all the content as I have misplaced some of the work due to me not requiring it anymore.
These are the few examples of the type of work I was presenting, looking back I can say I was proud to showcase this work and it shows my ambition as an artist.
I am applying for a course in Games Art, in which I have great confidence in my skills as an artist and believe with guidance I can develop them further. I am passionate in all aspects of Games Art. I enjoy the art that is so importantly established within games; the history and lore behind them; and I take inspiration from illustrations and concept art developed by designers such as Hideo Kojima and his Metal Gear series or Sid Meier’s Civ franchise. I enjoy how demanding this subject is. I find it visually and mentally stimulating to use my skills to mold environments using Maya. As well as this the course in its entirety enables me to develop my creative and my analytical skills by completing tasks such as environment design or learning different 3D perspectives. When I look at environmental art from games like Star Wars, I analyse and observe the style and the individual characters shown on paper which intrigues me. Each respective artist has a style of their own and they bring their thoughts to life. For example Stephen Chang’s work is distorted yet vibrant, his drawings loosely show the darkened tones of the Force Unleashed story. However still retains a vibrant colour scheme and atmosphere to showcase that this is a sci-fi game. I want to create a similar effect with my work and I believe this course is the platform that will help me achieve goal. I share a deep love for video games and I am open to learning further methods of drawing. Currently I am on my second year of completing a two year course in Games Design, within this course we learn to animate, rig, use keyframes, study realism and utilise software such as Maya, After Effects etc. Additionally I took a course in fine art for GCSE and the first year of my BTEC. It enabled me to experiment using all types of material, in addition to drawing and pinpointing techniques such as perspective, awareness, shading and texturing. After nearing the end of my two year course I can say that I have imbedded these skills within me and I strive to further improve on them in my free time. When I think about my time in college I think about the challenging projects that were set for us, one project in particular that stands out to me. During the early stages of year two we were given a brief to create an interactive map of Kingston. In this map we were to include hotspots that people would be attracted to, my focus was fast foods in the area. This project pushed me out of my comfort zone, but it was due to this task that I learned about dedication to work. I spent days analysing the area and taking many reference photos before I could develop a finished product. In my free time I work on my portfolio, this hobby is more of a learning extension that I enjoy as I like to go into detail with my research. I study and draw techniques such as 3D animation and perspective, the human anatomy and modern research of the gaming industry today. By building up my portfolio I gain a greater understanding for games arts and the industry of gaming as a whole. When I think of my personal achievements I think back to 2016. I applied for a work experience placement at AMV BBDO, the world’s leading advertising company sponsoring brands such as Guiness and BT. During my time there I recognized the opportunity and how important it was. Although I only spent a week there I learned many technical as well as practical skills, such as working and communicating as a team. We were assigned group projects and I had to work my way around listening to ideas, even though I found this challenging because I am an individual learner. I overcame this trait and adapted to the work demanded, eager to learn more from others. My time spent at AMV is where my knowledge for work ethic stemmed, and where I visualised how my future could possibly be, Working near the city in top grossing companies working everyday for a career I am passionate for, This excites me and only pushes me further towards my goal.
Software that I will be working on: Maya, Quixel Suite, Zbrush, Unity, Unreal, Marvelous Designer and etc.
What’s happening in the first year: We get to learn everything from arts, 3D sculptor and coding to decide which path we want to take. These are the topics that we will be learning.
Visual Design
3D Art Production
Gameplay and Interactivity
Moving Image Culture: Understanding and Interpretation
This uni will be my first choice. I chose it not only for the antique and equipment but the confident teaching and appealing atmosphere, I felt a sense of warmth when attending the open day, everyone there was so attentive and caring.
Solent was the least favourite choice, I felt it be an unreliable school as statistics show its in need of more students, that why the uni is giving out a tremendous amount of unconditional, Although I feel like this I still chose it as my second choice, I did this as I felt it best to have a safety net, in case things go wrong and I don’t obtain the required grades, I will be attending solent on my unconditional offer.
During these past 3 months I have been diligently working to a near professional level to complete myFMP, However in order to reach a final product I had to start with the foundations, this includes research, I willingly went too different museums around London that contained certain artefacts or items that were pivotal towards my FMP, such items include, Greek statues, clothing material, comic conventions, and anatomy drawings.
The Beginning
To begin with when we were pitched with the FMP project we were told that we would take a trip to the VNA in Victoria on 08/02/19. The reasoning behind this trip was to allow and help us produce ideas for our FMP as for me personally I hadn’t come up with an idea at the time. For me, the research that I documented on this trip was very varied, from the pictures taken took and analysed a wide range of artwork and spectacles, allowing myself to gain ideas and inspiration from the museum.
As you can see from these photos the source material was very varied, however, this process of investigation was pivotal in me choosing a topic for my FMP, I can confidently say that I gained heavy inspiration from this first trip to the VNA.
Upon completing my verified research into different source materials at various museums such as the VNA and history museum, I came to the conclusion that I would be creating a graphic novel heavily influenced on Japanese Illustrations such as Manga. As well as this I decided to work with my partner Jeff who had similar interests as me and ever since we have been working together to complete this FMP. Now having knowledge of the course I would take and the medium I would focus on I decided to ensure all the time available only focusing on key aspects of my FMP. There were many variables I took into account while researching my source material As I was doing a graphic novel, I not only had to study Japanese culture and layout but anatomy too, shading and basic art skills that were needed in order to complete my Primary Research. In this blog, I will make subtitles that will explain the different categories of my research and what I did to achieve the knowledge I required to further pursue MY FMP.
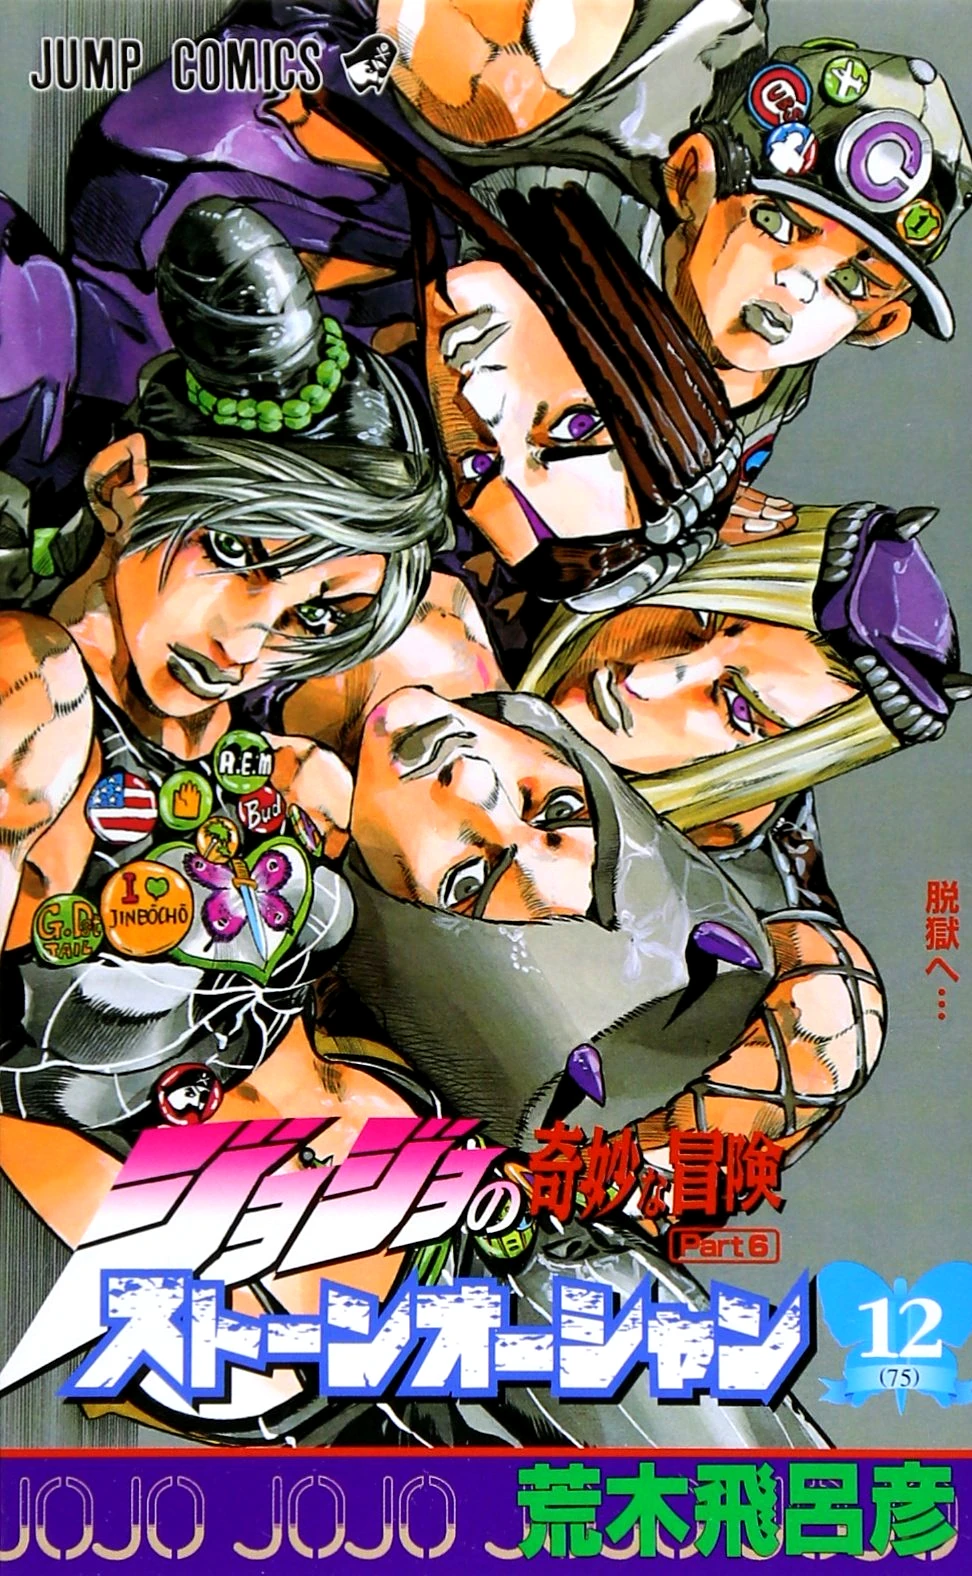
JOJOs Bizzare Adventure ARAKi hirihiko
Jojo’s bizarre adventure Is a world-renowned manga created by the amazing Araki, As our Novel is heavily based on ARAKis work I first spend hours upon hours researching Araki and his novels,
Example of Araki illustrating his work (published 2016 by funny valentine)
Araki Is a very unique artist in the sense that he is extremely experimental, For example one of his novels would start with a certain Art style however as they develop you notice a drastic change is art style, In keeping in tone with his work I took note of this creativity and used it to my advantage, JOJO part 4 (1999) example of 2 different art styles
As I and Jeff were both illustrating the comic we allowed our art styles to flourish on paper. Like Araki we were very comfortable with creating different Artstyles for our half of the story, we felt it was a nod to Araki’s work and conclusively shows the creative range we were capable of reaching by adapting and experimenting with art.
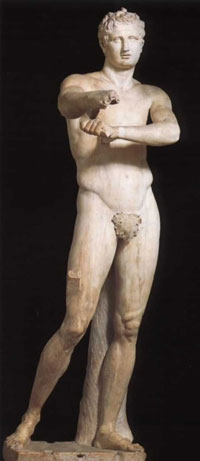
Greek statues and Anatomy
On to my next piece of research I decided to look into the study of anatomy and poses shown by either sex. We were creating a graphic novel I saw fit to research extensively the art of anatomy and posing. To begin with, I studied and surfed many websites and blogs, researching and reading all I could on anatomy, https://www.artistsnetwork.com/art-techniques/beginner-artist/drawing-anatomy-for-beginners/ (author maria woodie)
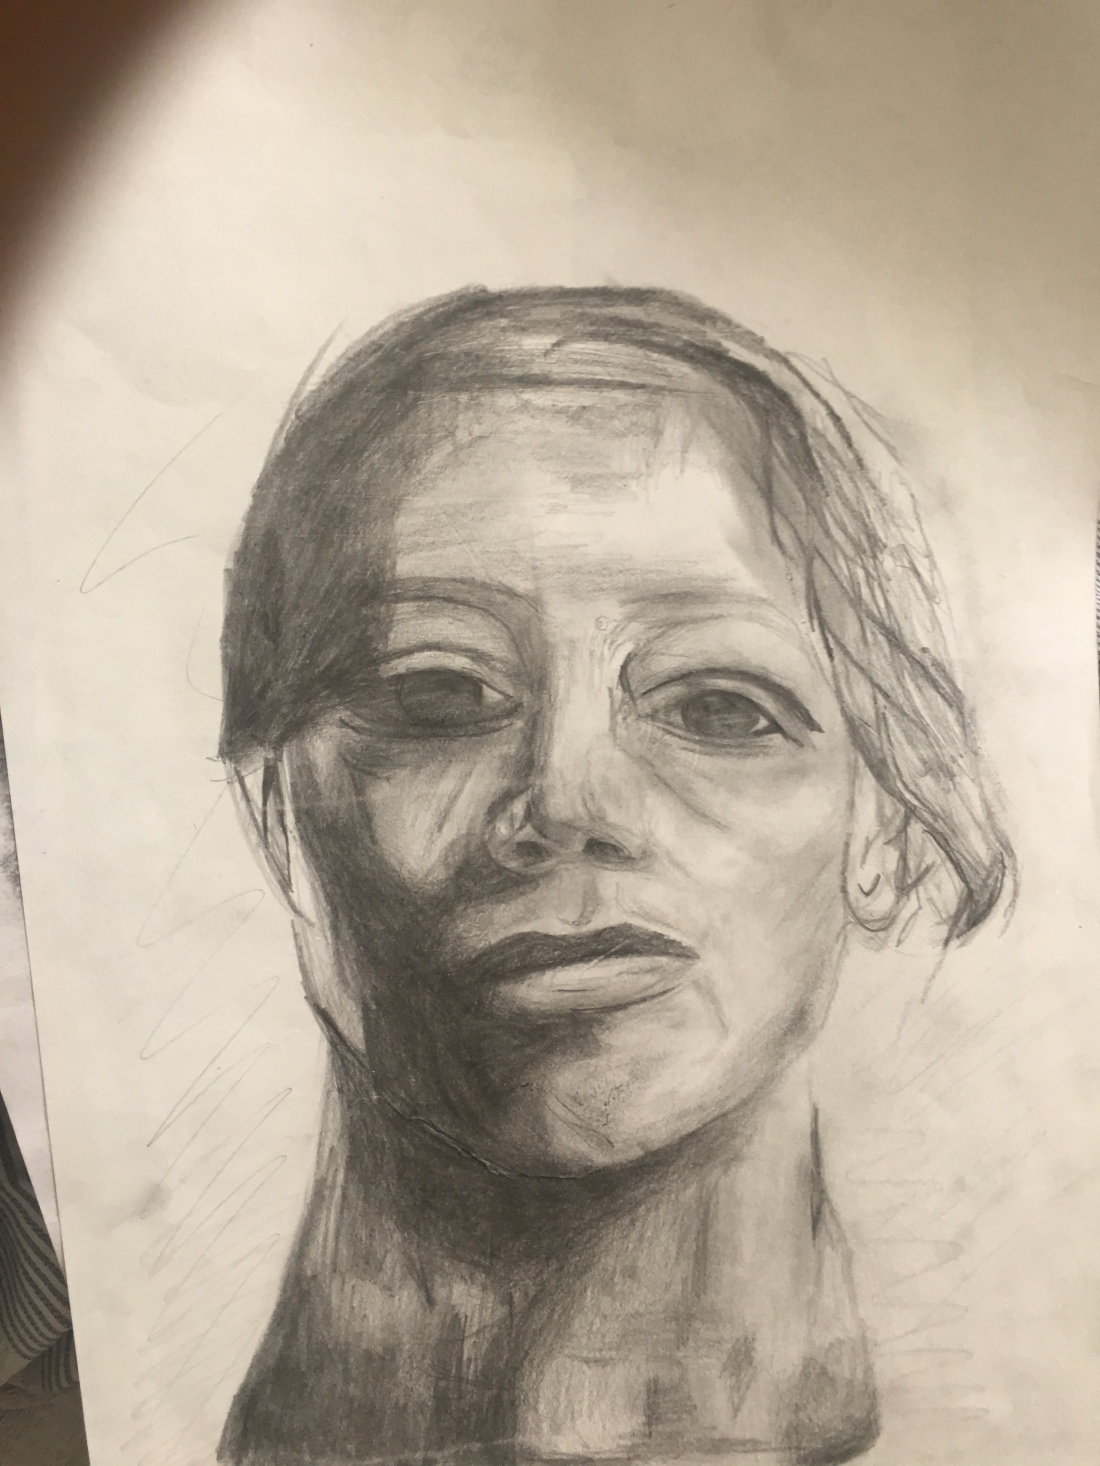
Although I found the information online useful, I didn’t think it was enough, I wanted a more hands-on approach, I felt I needed to be able to touch the bodies that were studying to understand and gain knowledge of structure and realism. To quench this realisation, I decided to visit the Vna in London to take primary photos of actual greek statues. I decided to study these statues as they gave a great insight into the art of anatomy, Each statue was so detailed and expressive and I was able to see up close how joints were drawn and how the tissues connected. It was an insightful experience and I can confidently say the statues I witnessed at the VNA boosted my confidence for Anatomy.
As well as this I also want to note that Many Japanese illustrators heavily base there character poses of poses you would see in Greek statues, I am not entirely sure why This link was so prominent however I felt this only pushed me to study Greek statues more.
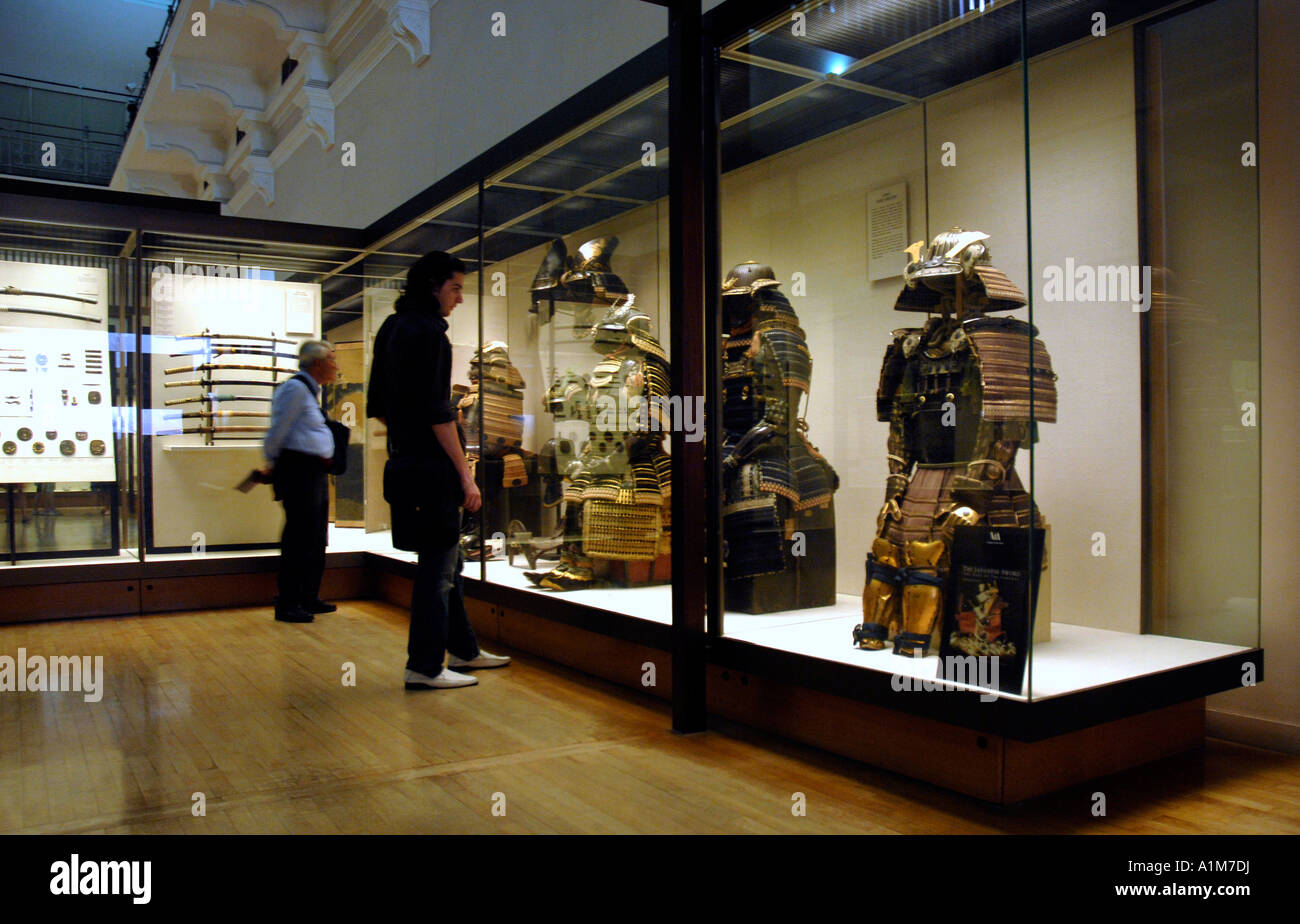
While at the museum, I took advantage of all the cultural pieces around me. As I was looking into Japanese Novels I thought it best to research and take primary images of Japanese culture within the VNA. To my luck, this was extremely assecible as there was a whole section on Japanese culture and art within the VNA.
Google images (example of Japanese section)
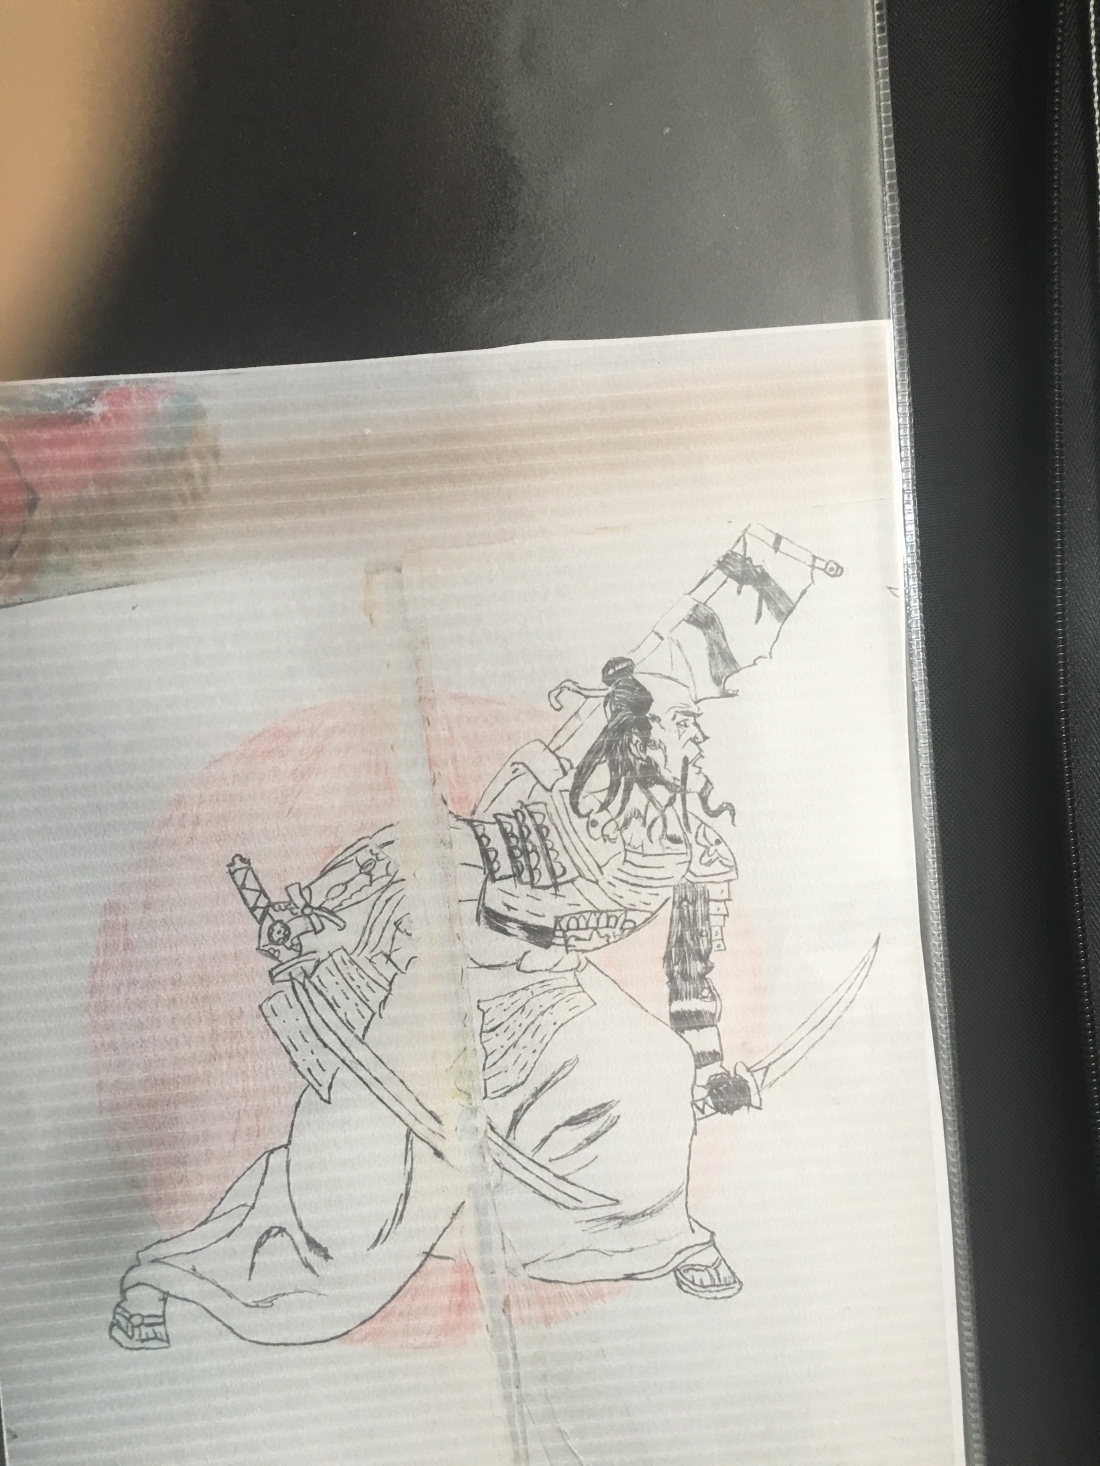
As you will see from my primary research below, I took pictures and notes on anything and everything I could see in the Japnese section, Although some of the source material won’t necessarily be linked to My FMP, I find its best to note down and record everything you see as it shows evidence of research as well as an open mind. Examples of materials I may have taken photos of is the Shogun armour, Japanse culture, Japnese Clothing, and In my opinion the most important, Japanese scripters. From these scripters, I could see how the art of Japanese novels has developed through the ages expanding in resources, storytelling and illustrations.
Below are my photos that I took In the museum.
MANGA and layout.
onto my final piece of research, I decided to tackle the root of my information and that is Manga itself. As I am doing a Japanese Manga for my Fmp I sort it best fit to study manga as a whole, This includes the history of Manga (Blog on the history of manga under the category FMP), Different art styles, which I already began experimenting with, Page layouts, Story, script and much more. I knew I was setting myself with a challenging task as Manga as a medium is infinite, There are years upon years of rich history and techniques when it comes to manga and I only had one week left of research before I moved onto idea development. To accommodate this I decided to spend 3 days extensively researching a wide range of manga facts I would find useful toward my project, I would surf the internet, bookmark pages, and even go to the library and rent out books on Perspective and shading. (Books will be linked below) Upon completion of my research, I spend the last day printing and recording all the data I accumulated and compressed it into a folder, adding categories for each section of research on manga. For example, one subheading would be shading, another would be Layouts and even speech bubbles. This technique and way of researching really aided me towards my FMP as I now had an easily accessible way to access the information I needed as well as narrowing down specific tips and techniques professional Manga artists demonstrate.
Section two Time management
Time management
In terms of time management, I was rather slow when it came to creating the pages for the comic. this is because of my lack of confidence when working outside of the home, I felt insecure showcasing my work in an outside environment and that’s what ultimately slow me down. completing this FMP has made me realise that if I want to pursue a career in Concept art I must step out of my comfort zone and embrace my work not being afraid of who sees it and when. Secondly, I would spend too much time on the smallest details, some of which being unnecessary.
Schedule
Our schedule was not as clear as we hoped it would be. It mainly consisted of getting the sketches done at home and doing the linework outside of the home. As well as this between me and Jeff we did not have a lot of communication, Besides from assigning who does what pages we never called to check out each other work or evaluated and compared it to see if we were both on track, this lack of communication led to problems as we did not know how far we both had reached in terms of progress or skill. As time went on however we soon rectified this problem and by the end, we had a solid schedule set in place.
Developing and Modifying Work
When it came to Developing my work what you will notice was that I was personally experimenting with my work, When you see my Concept art and compare it to the actual final product you will notice changes have been made to the characters and the overall look. I did this as I was never fully satisfied with the look of my character Jozeya, I thought I had fleshed her out and made final drafts but upon seeing her implemented into our story I felt she needed to change and develop, which is what I did. In fact, if you compare the earlier pages to the later pages you will see that she indeed does look different as my style of drawing developed.
In addition to this, the script was also vastly changed in order to make the Comic flow and be more appealing to read, WIthin our first draft it was apparent that there were many Grammatical mistakes as well as plot holes, To rectify this I required help from a professional who asset and marked my script. He gave me the insight I required to alter and modify the script. I am glad that I went over and changed the script as not only did I gain important feedback but the altered script helps the story flow much more by closing any plot holes, and adding a clear beginning middle and end. The script we had beforehand included some very robotic and almost dull dialogue as there wasn’t any interesting speech included.
Experimenting
Both I and my partner took a great risk producing a comic together, I feel this whole experience was us experimenting and working on each other’s ideas.
Firstly We both came to the decision to showcase this comic in two drastically different art styles, I would be drawing in a more traditional style as my partner would be doing his half digitally. We came to this decision as we spent weeks experimenting with our styles worrying about how we will present them and how to draw our characters out in the same style. This experimentation led us to the conclusion that we should just illustrate this comic in two different styles to show our individual creativity and talents as well as keeping homage to the original illustrator Araki, as he tends to change his art style drastically.
Materials, Techniques and Processes
Which materials, techniques and processes did you use and why?
2. Describe any difficulties you had with materials, techniques and processes.
3. How did the materials, techniques and processes you use affect the final outcome?
Materials
As I was taking a more traditional approach to manga illustration, I took it upon myself to purchase the necessary equipment. Below is a list of all the materials I used during my illustration phase
Manga paper
variously sized ink pen
Ruler,
rubber
pencil
Internet (for references)
The materials you see above were all pivotal in the completion of my illustrations, I required manga paper to properly ink my paper, this is due to the thick composition of the paper disabling the ink to bleed through the page. IN addition to this the paper also contained boarders for measurements and spacing. I used pencils to sketch out my work, This allowed me to be loose and quick with my work enabling me ot rub out any errors as it was in pencil. It gave me a sense of what the end product would look like. Once I was satisfied with my sketching, I moved on to detail using the ink pens. I required different sized ink pens ranging from 0.1 to 0.8 and or brush pens. These sizes allowed me to differ between thickness giving my illustrations depth and Realism as I was able to highlight prominent shapes within the body with thicker strokes. In addition to as I was using black ink pens, when going over sketches with ink it presented more contrast to the background making the illustrations stand out more. Finally, I required a stable wifi connection to use the internet for reference. I needed information for Anatomy, perspective, Environment etc.
Techniques/process
Inking
I used a lot of striations to vary in texture and to use for shading, I also used crosshatching to represent darker parts in the shading. Along the way, I blocked things out in ink to represent dark parts and various other parts that didn’t require a lot of detail or attention, vice versa I didn’t use ink to represent lighter parts of the illustration or things that weren’t dark at all.
Layout
The composition and measurements from the manga paper allowed me to measure and separate each panel from each other with an equal amount of distance, this made the comic pages feel and look professional and polished.
Adobe software
Upon completion of my illustration, I felt it necessary to upload my work on adobe photoshop/illustrator to make it look professional. I didn’t want to hand draw borders as I knew I could get exact measurements and thickness on photoshop. To add boards I simply used the rectangle tool and boarded each page. Once that was complete I went on illustrator and added speech bubbles by using the shape tool, within the bubbles I used the text tool to add speech. Looking back I regret adding speech bubbles on illustrator and should have stayed on one app such as photoshop. Because of this error, I was unable to go back and alter any speech or speech bubbles on photoshop as I already edited them on illustrator. Finally, To finish off my pages I went on Studio clip. This app allowed me to download and sample various patterns and effects that help compliment my manga. For example, there was a page which emphasized heavily on one character, I felt, however, the page felt empty as It lacked onomatapeers, I wanted to emphasize a dramatic effect for the character, and so to fix this I scanned the drawing and uploaded it into studio clip. UPON uploading it I was able to add effects such as onomatopoeias.
Looking back at the overall process I do mention that I regret using multiple apps as it got confusing and difficult to edit, however, I am also proud that I went outside my comfort zone and experimented with different software such as studio clip as in fact greatly increased the overall appeal of my comic.
Although we had the means of printing it ourselves using the college facilities we opted for a professional touch as we were extremely proud with the work we produced When on display we felt it necessary for the comic to look as professional as possible, enabling it to stand out from to viewers.
Brief Response
When it comes down to the brief as a group we both responded to the brief pitch positively. we are really pleased with the final outcome of the comic and felt it reached far and beyond the standards of what we could produce, especially due to the fact that we both have never attempted this type of project before. I do feel it is in high quality and it has the right amount of page numbers. However, the sole purpose of going to the museum was to get inspiration for an idea on the final major project, which was a key part in our brief. What inspired me were the sculptures and the Chinese cultured items, as we originally planned for our comic to fully take place in Hong Kong. The sculptures were what inspired us to go with the idea of a comic based on JoJo as the original artist used sculptures as heavy reference.
Strengths and Weaknesses
Strengths
I feel both me and my partner both showed great resilience during this project, firstly we were one of the few people to do this project as a group, although we were doubtful and wary about clashing ideas we stuck through with our idea and perceived to the end, Secondly we depended and trusted each other, there was never a time were we ditched each other or didn’t lend a hand, we started this project as a group and stayed as a group consistently throughout. When it comes to individual strengths I can confidently say that my main strengths were patients and technique, Firstly when it comes to patients there were many sleepless nights I had making this comic, although there would be days where I would be extremely fatigued or even doubtful I waited in anticipation to the end result, I took time with my inking and detail and because of that I was able ot build up each page like a puzzle, first adding shape then form then detail until I was satisfied. I never rushed into a drawing, I took my time with it. When it comes to technique this project taught me a lot about it, Not only did I have to step out of my comfort zone and learn the foundations of inking which is extremely time consuming as well as nervewracking but I had to spend the time looking up videos and tutorials on different techniques, once I acquired the knowledge I needed I took it into my own hands and developed these skills such as cross-hatching for shading, adding striations and much more. I feel overall these were my two main strengths.
Weakness.
I feel my main weakness was timing and procrastination. Firstly when it came to timing we never really planned a solid schedule, Although we were given a deadline schedule we never truly followed it. Our end product was a success we originally planned our story to be much larger consisting of 21-35 pages as well as adding more characters and plot, Due to my lack of awareness and time we had to cut the story down tramedelously only having 12 pages for our final cut, Luckily we were able to make this work due to us altering the story enough. Finally to my weakness procrastination, Honestly this is completely my fault and could have been avoided, There were days left at home where I lost motivation and proceeded to watch videos on apps such as youtube or Netflix. This could have been diverted had I taken the time to rid myself of these distractions by either putting my phone in another room or taking reaguler breaks, instead, I could waste hours watching my favourite shows. I rectified this problem however nearing the middle by essentially changing my mindset, I reminded myself that this is my passion and joy, I live and breather art and want to excel in concept art and game development, that gave me the motivation I needed to wake up, Not only that but I was also working as a team, If i put less effort not only would I be letting myself down but my partner as well.
Conclusion
To conclude this project has by far been the most impactful as well as gruelling task I have ever done, Along the way, there were most definitely doubts such as completion of the comic, or even if I was capable of illustrating a comic to a high enough standard. In addition to this there were mistakes made such as time management and laziness, however I can confidently say that this is by far the most rewarding and professional project I have ever completed, I do not exaggerate when I say that I put my heart and soul into each and every day, as well as my partner, Through trial and error came persistence, and through persistence came the resilience and skill needed to finish this comic, I am extremely proud of what we have achieved and I will strive to improve going into university and further.
This blog will contain a step by step essay on our FMP process and how we came to a final conclusion, As well as this blog will contain our struggles, changes we made any mistakes that could be rectified for next time.
This is an example of a pan shot, establishing the whole scene with a panorama.
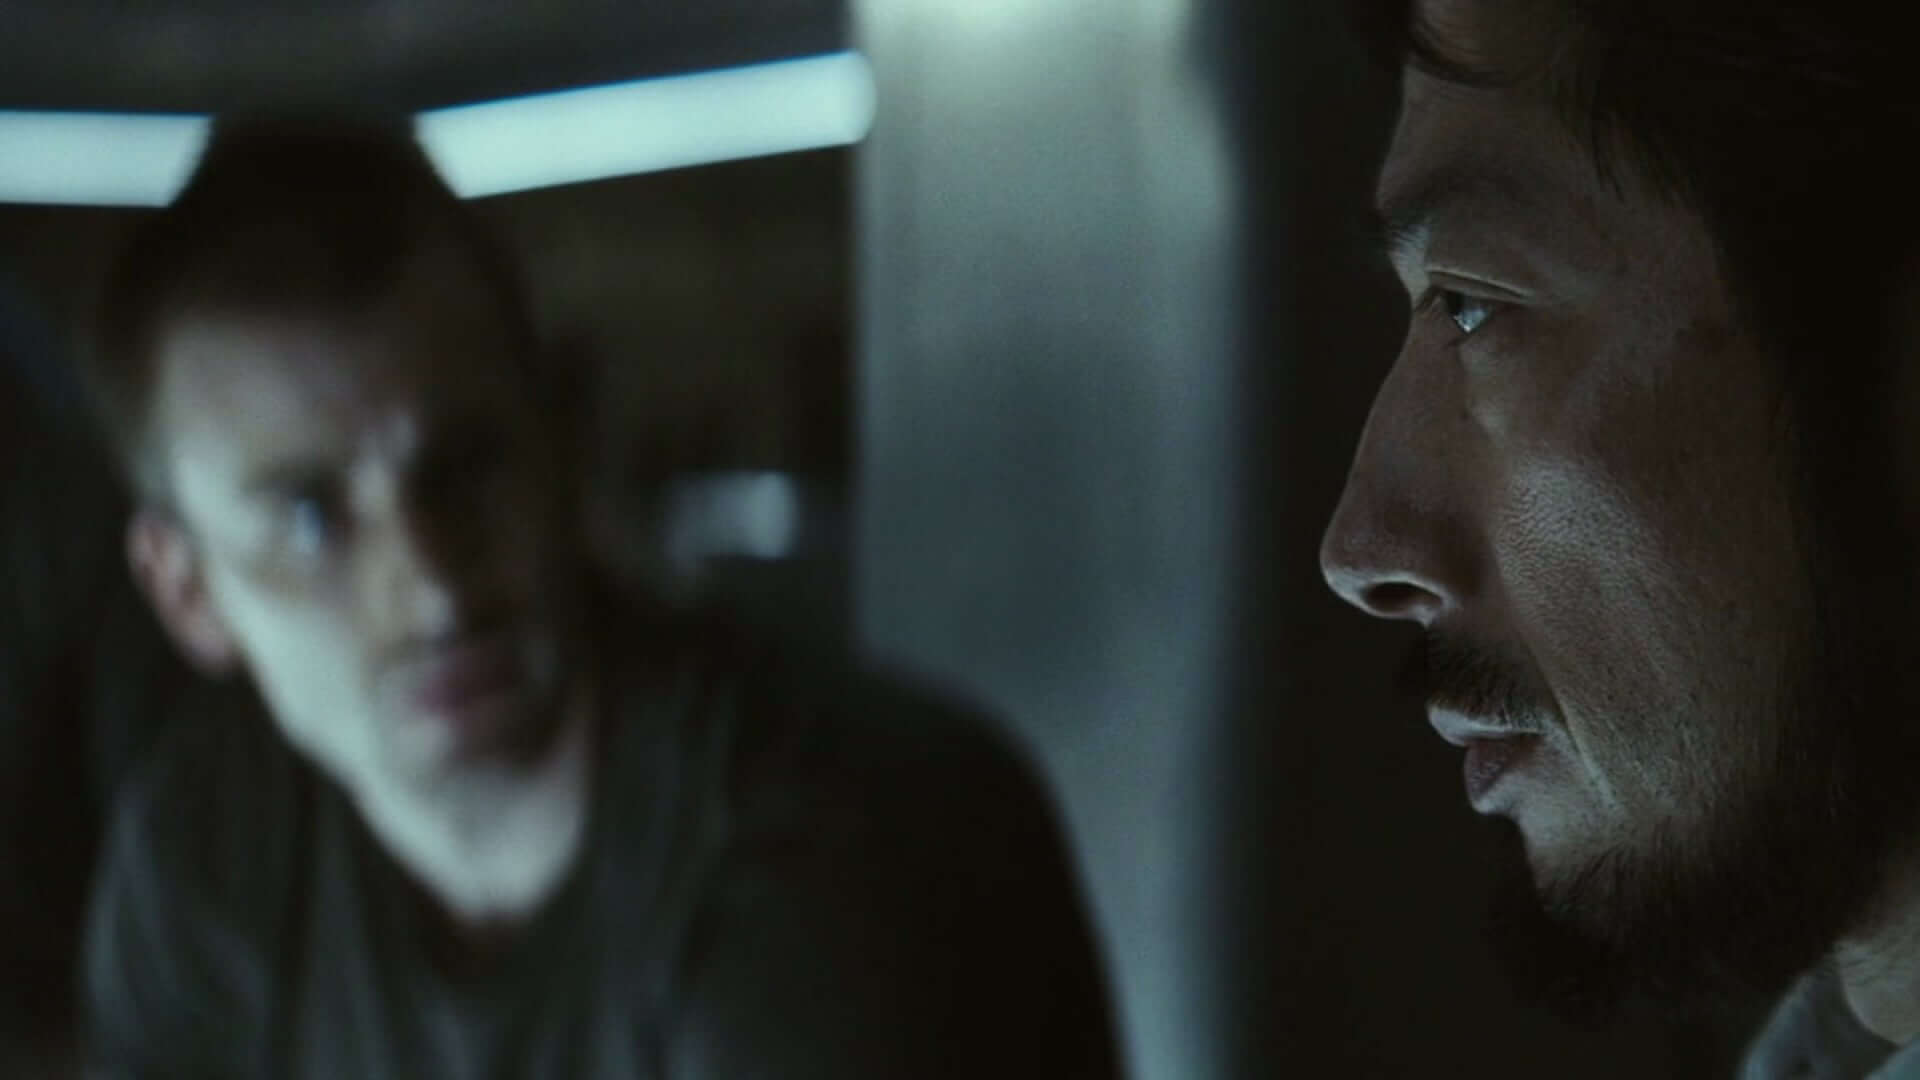
Pull focus shot
A filming technique whereby the focal point is drawn towards the viewer; also a shot, it usually used in films or tv shows, as a way to emphasise focus or plot for a character, the shot that is focused tends to be the character whose talking currently.
Long shot
a long shot typically shows the entire object or human figure and tends to place it in some relation to its surroundings. This shot is a typical example of a long shot.
Worms eye
This shot is taken from the ground up giving the perspective of a character being larger or superior on screen
Birds eye
A view from a. High angle as if seen by a bird in flight. This shot can be related to a person looking out a airplane window and seeing the environment below.
Establishingshot
Establishing shot sets up or actually establishes a scene by comparing the environment or object of a scene with the characters shown within the scene.
Dutch angle
The angle on this shot is purposely flipped to the side to convey dramatic effect and mostly is found in thriller or Acton sequences in films.
Medium shot
A medium shot displays a shot from a medium distance usually cropping out a character from the waist down.
Close up
A closet up shot is a shot that usually is zoomed in quite abit. It tends to focus on the face area of a body and usually used when introducing a character or showing specific detail of a character
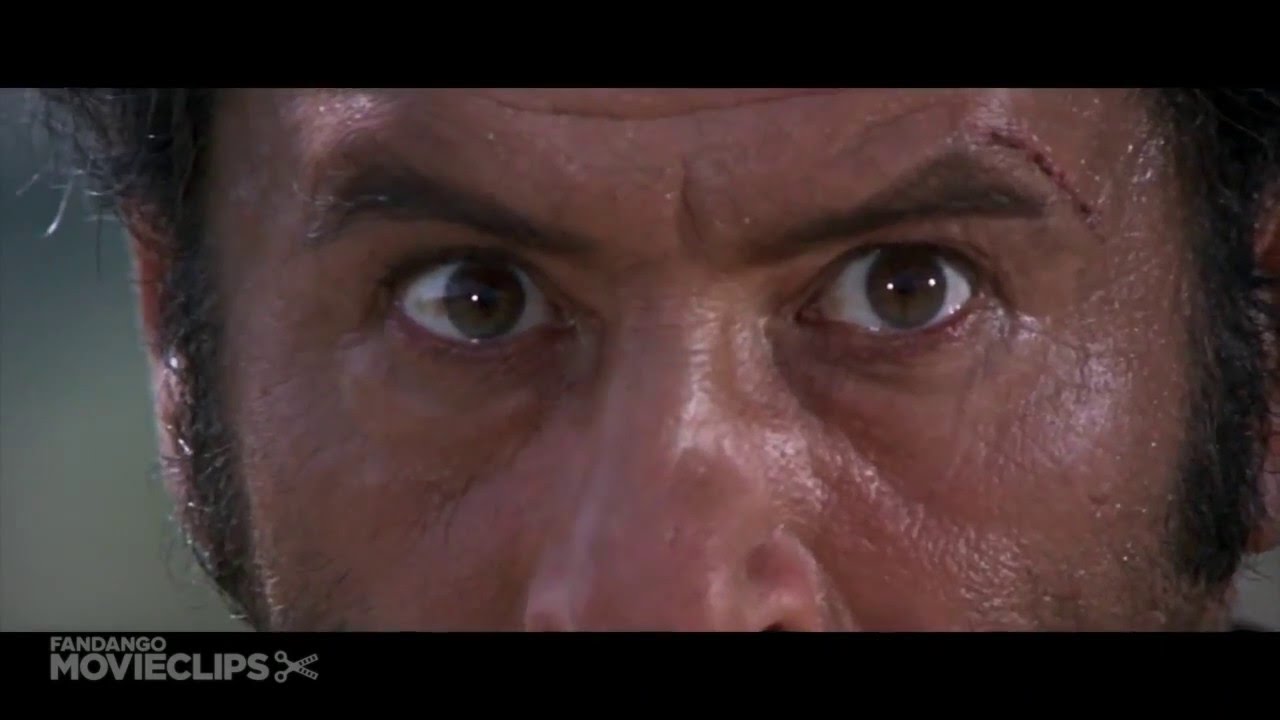
Extreme close up
Extreme close up is an exaggerated version of close up focusing even deeper into a specific part of a a-shot. For characters this shot would be evident during action sequences or more precisely western stand-offs.this shot gives the effect of seriousness and tension.
For my animatic it was a fairly basic and straightforward process, upon completing my storyboard I then took pictures and exported then onto my computer, after that it was a simple process of uploading them into premier pro and organizing it so it would play as a slide shows there was little to no animation as the opening scene of my game would be still images, to introduce the reader to the environment and game world, there was no reason to have any animation involved. once I was done with the animatic iI Exported it and placed it onto youtube to be watched.
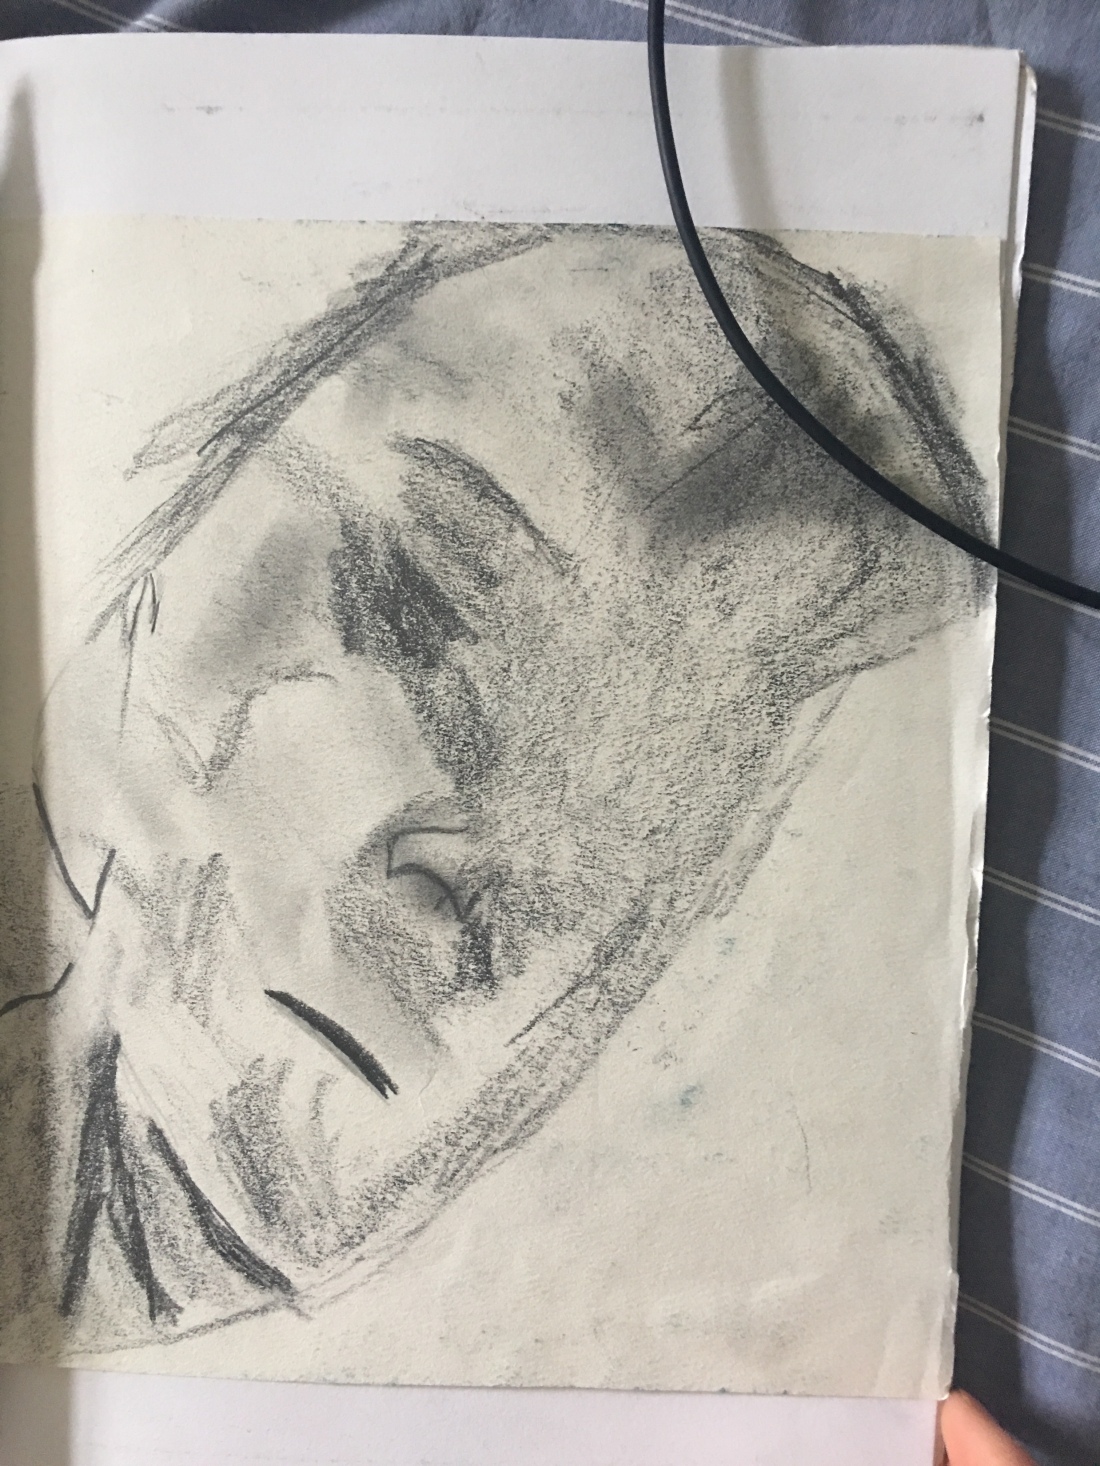
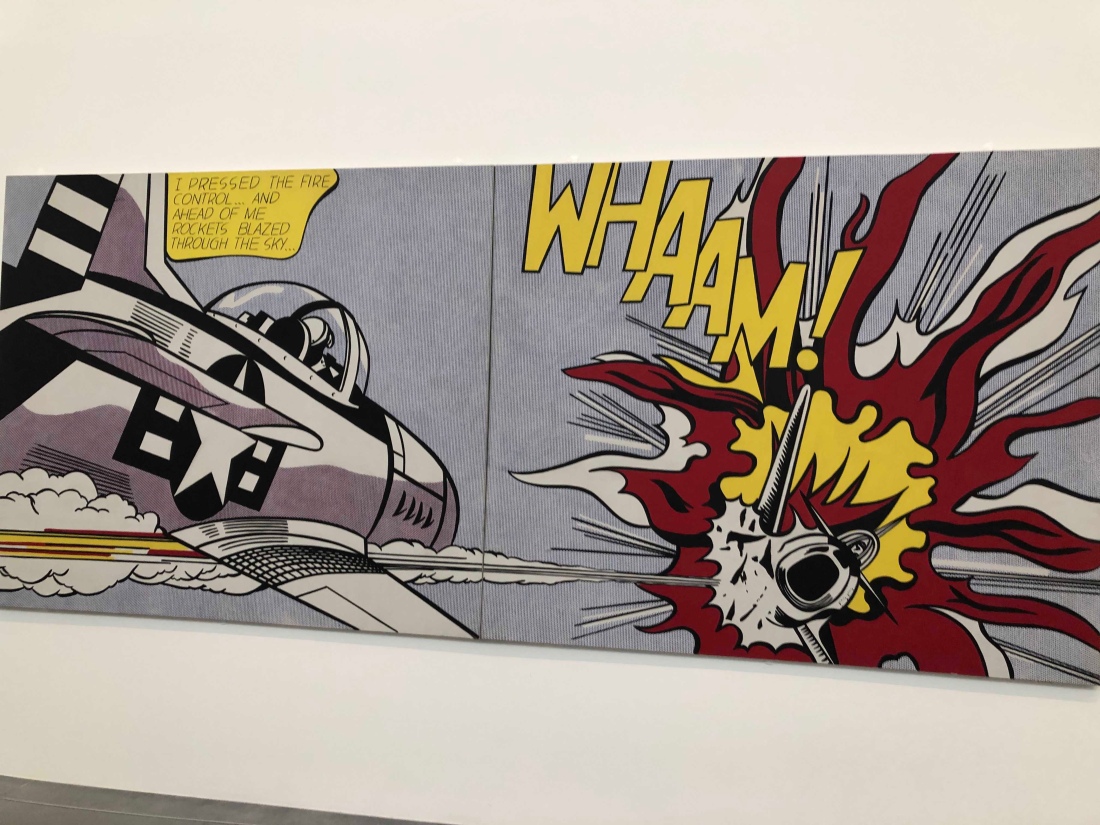
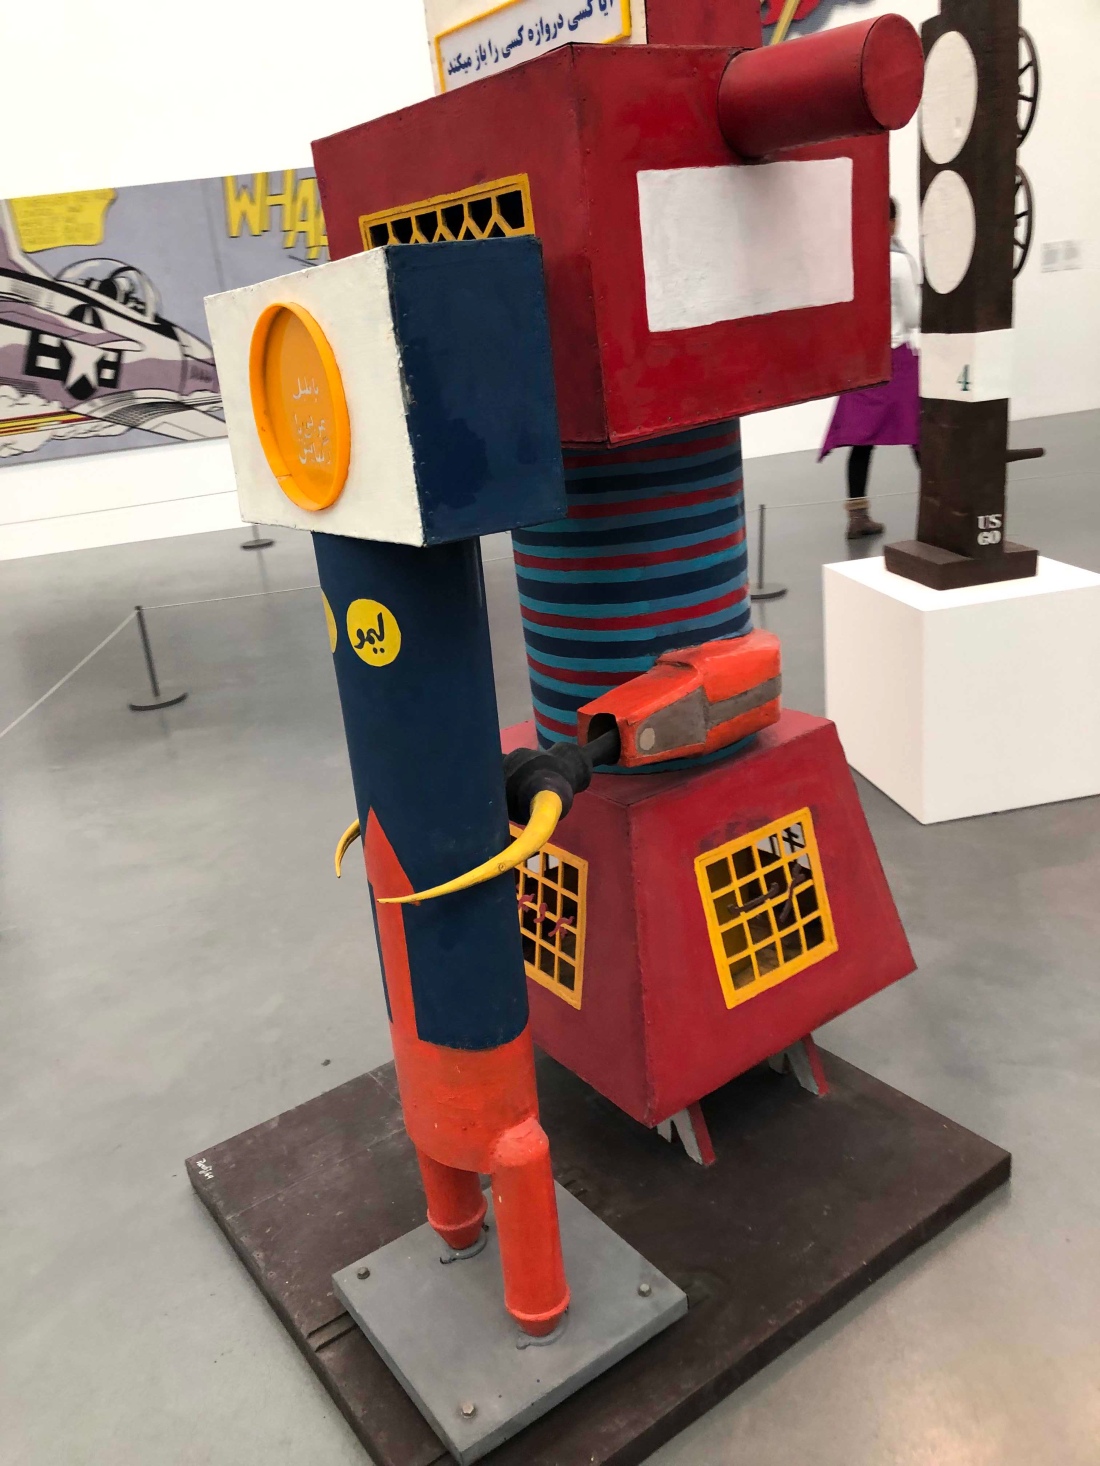
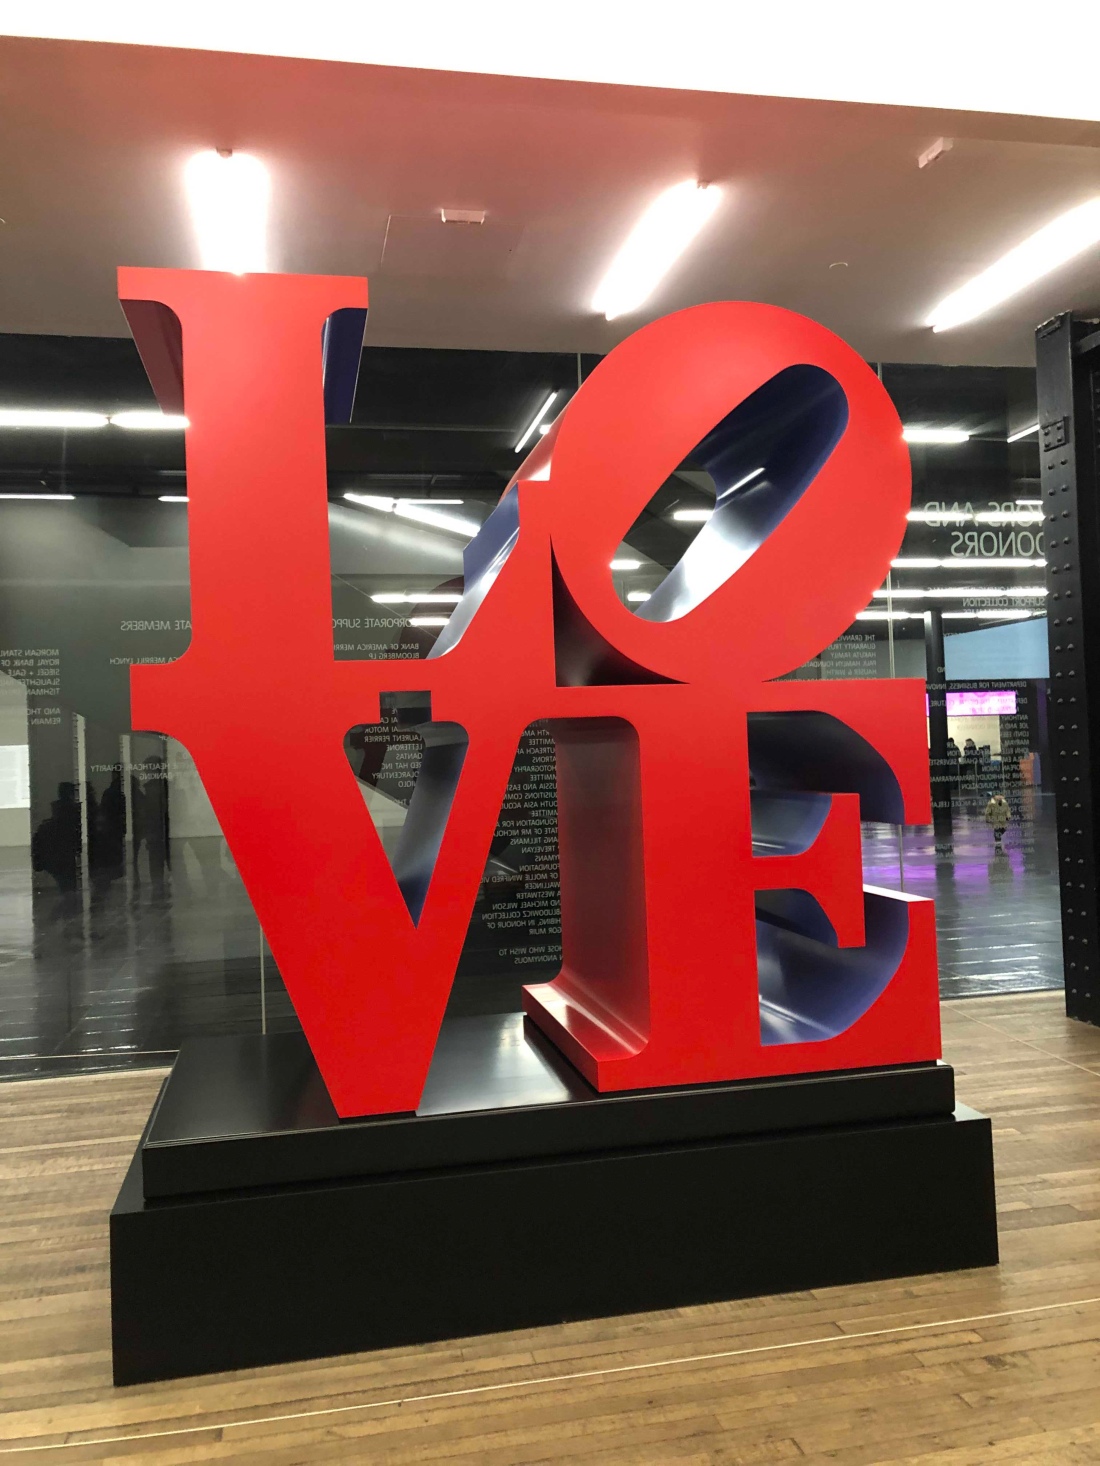
This blog will showcase a few of my artist copies that I did at home based of the work I saw at the Tate. me drawing them out helped me develop and understanding and awareness of the pieces and the artist as I had to overcome the struggles and share the same accomplishment as the artists when completing these copies


 JOJO part 1 (1980) Araki