This blog will showcase my blocking sheets and the planning I’m doing for my animation, the reasoning behind this blocking sheets was to give me a visual representation of how my character would move or where he would go on the obstacle course, I didn’t add timing however I know my key frames will be 20 seconds apart, since these our plans the sketches are rough and not very detailed. As well as wanting visual representation this task was on task two of he brief and needed to be complete and uploaded. Now that I am done with planning I will proceed to the next phase and import my Character into the obstacle course given to me.
For my Maya animation My sprite will have to perform various athletic feats such as jumping, walking, running, crouching and much more, in order to get a visual representation of these actions I have decided to record myself walking, crouching and so on, this will enable me to see how I walk and mimic my movements or the movements of man, and mimic those actions on Maya using keyframes to animate.
This blog will explain the process I took and the struggles I faced to achieve and eventually complete my animation
Introduction
To begin with once All my class tutorials were complete I had gained a brief understanding and knowledge of the software Maya, enough so to start actually animating my character on Maya.
The task was fairly straightforward, I had to transfer the character skins that I created on Autodesk into my Maya file, by doing this my sprite would be reskinned to look like me. Although this takes was fairly straightforward I was unable to get this to work, there were many factors that took part in this mistake some being that I had to keep on changing computers from my home desktop to my college desktop just to work on my project, by doing this Maya itself didn’t transfer all my files accordingly even when being backed up by me, in fact it is recommended that if your doing animation never use more then one desktop to do work, Now learning from my mistake whatever the case I will only do Animation on one computer to prevent files being corrupted as well as lost.
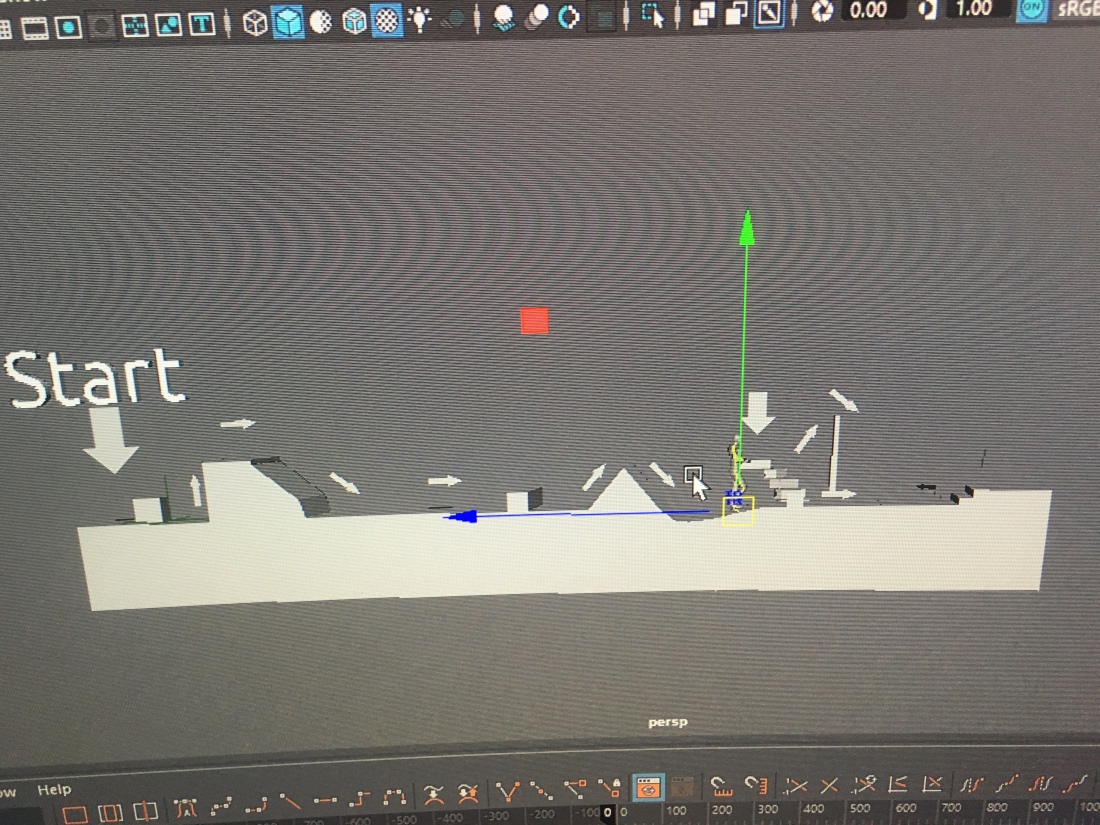
Although I had this problem I still continued with my project now uploading the obstacle course given into my Maya project, Although I did not have a skin I had a fully rigged character that I rigged myself on Maya as well as an obstacle course, I was ready to begin my animation.
Middle
This is where my challenges started rising, Being thrown into Maya at full force was incredibly daunting for me and although I do admire animation and the way it works I myself am not an animator and more of a games artist, however in keeping with the briefs requirements I just decided to compose myself and move on. I began by recalling all those tutorials I had prior and using those skills right now, starting with activating my keyframes to allow my character to move. I did this by pressings S on the timeline on the number 0, now I had a clear start point.
From this point on it was just a back and forth of me animating my character and trying to imagine myself doing real-life movements to mimic human movement as humanly possible as I could, there were a lot of times wherein class I would just stand up and move myself, this would help give me a visual representation of what needs to go where and at what time to make my sprite look realistic and I would personally recommend it to anyone doing animation. By the halfway point of my animation I reflected on my work and decided to start again from scratch, there were many reasons why I did this, some being that my joints movements didn’t looked too robotic and I, in fact, didn’t have a concrete walk cycle, I was just personally not happy with my animation
Ending
Knowing I didn’t have much time left I decided to only animate 20 seconds of my animation as I know I would not have time to do the full 30, keeping that in mind by the end I would have my sprite just teleport to the end. Moving on now again learning from my prior mistakes I took more time with the joint movements spending a good amount of time on each frame making sure my spirits didn’t look to robotic, I say to robotic as being honest at the moment I acknowledge that I am still a novice when it comes to animating in Maya, I believe there was just not enough time to learn everything I needed to animate to a high enough standard keeping into account that I had used software like after effects in the past with a similar keyframe layout, Maya was just a different software completely and I believe if I had as much time studying Maya as I did aftereffects my final product would have looked more polished.
Conclusion
To conclude I believe there were many high and low points of this project, there were aspects that needed improving on like time management however that May has been inevitable as felt I needed to start again. In addition to this, I believe if I had more time and focused solely on the technical skills of animating within Maya really getting the grasp of the software I would have achieved an outstanding animation.
In saying all this I am definitely not ashamed of the work I have produced, my animation as well as my Maya tutorials, are proud additions to my coursework, and although I want to go into a field in games art when I grow up I know I will be able to look back and refer on these pieces one day for whatever job I go into and pull the skills that I have learned as well as the struggles and mistakes I made to help better me in the future.
Additional Maya tips
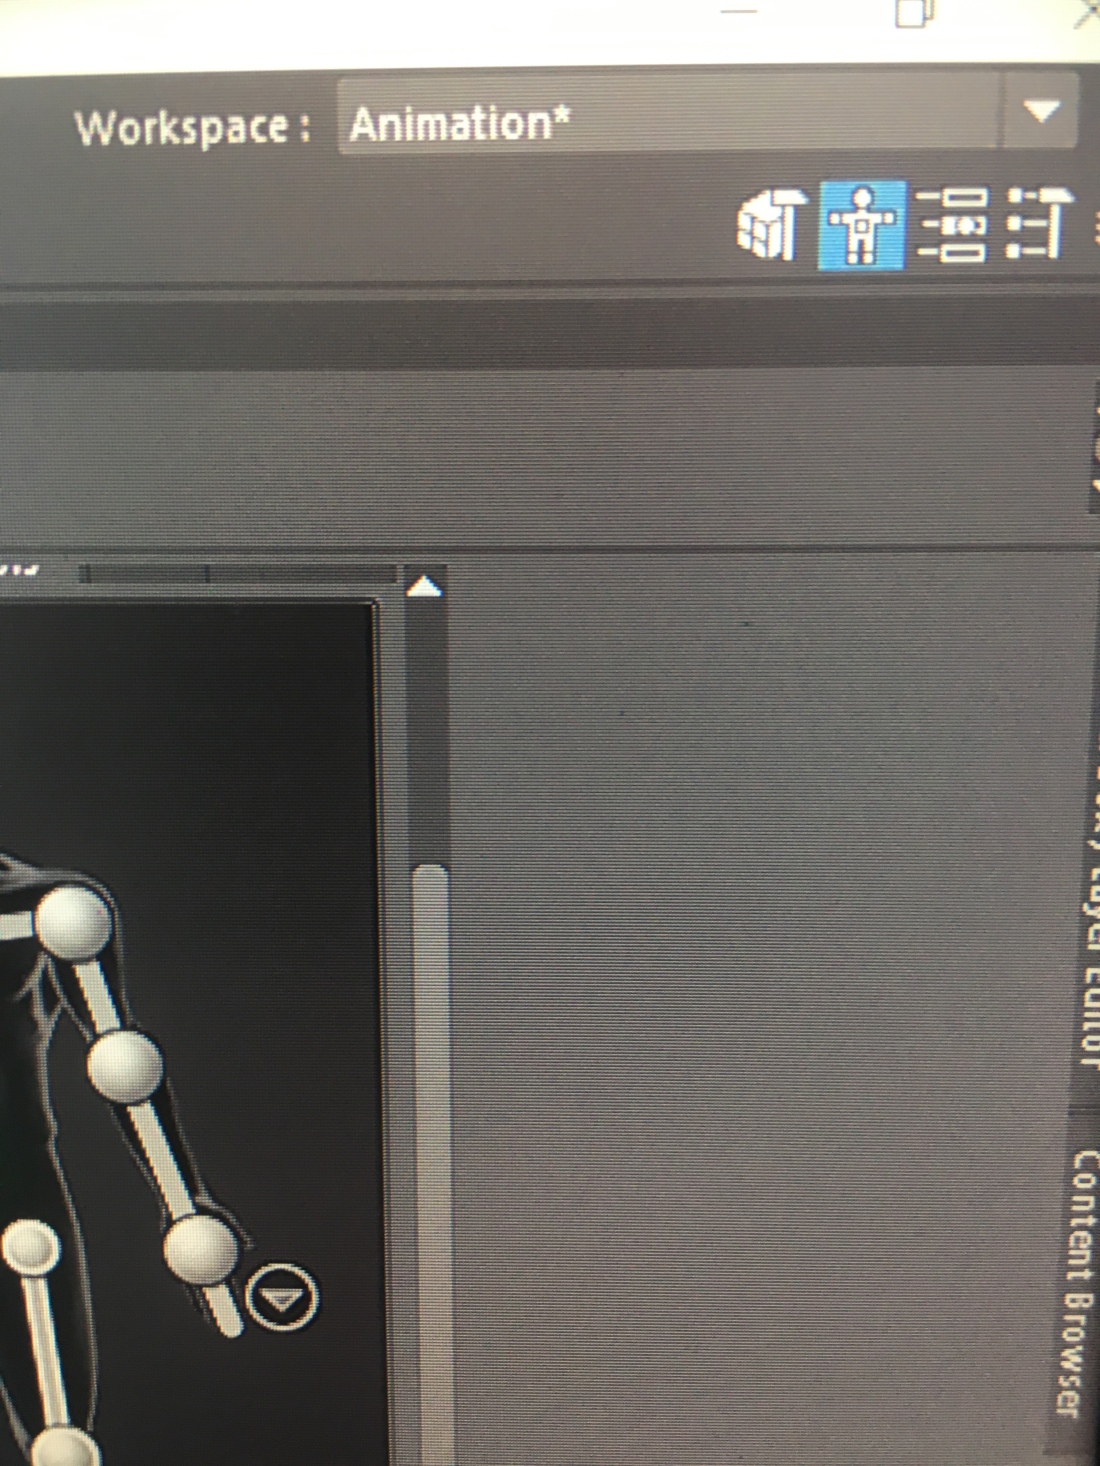
Change layout from Maya classic to animation
Always organize workload, such as body parts as well as label them
When animating set Fps to 24
set up controls so you can animate easily with the character rig.
For this tutorial we were set with the task of showing bowling pins get knocked to the ground with a bowling ball.
The model of the bowling balls was imported using a website. To begin with to get the pins to get knocked down by the ball I had to rotate and move the ball so it would be in contact with the pins, I did this by using rotate as the ball was moving to give it a realistic look. Once the ball was in contact with the pin I had each according pin have a knock on effect, I achieved this by again manipulating the pin to rotate on contact with the ball, this gave the contact reaction a realistic feel. I repeated this process for each pin.
To further increase the realism of my animation I added anchor points to each pin making them fall down n the direction they were being hit on by the ball.
This Short story is about love, loneliness, and a passage of time, as these are very real but pressing themes within this story Pixar has chosen to animate this film in a light and creative way making the two beings feeling these emotions volcanoes, adding a quirky but childlike feel to it
Storyboard
A male volcano is shown in a backdrop adding a. establishing shot showing the sea and blue sky,
Close up of the front of the volcano showing his features
The next few shots are different views of the massive volcano, as well as showing different animal couples present around him
Next shot is another close up wiht him smiling and lava bursting from the stem
Next its a birdeye field view of the volcano and steam rising into the air from the lava
next shot its night and cloudy, the stars are out and you seem an ash cloud form from his lava,
As the song takes a dramatic turn you see the volcano looking weak and brittle
Storyboard introduces female volcano smiling under the water
She starts erupting with lava slowly rising from the sea
She bursts out with thunderous waves splashing around as the male witnesses her.
Next shot is an establishing shot of her, She is now fully raised.
The male volcano has sunken into the sea looking sad,
He looks up flying out of the sea meeting eye to eye with her.
Next shot is them smiling leaning in close to each other in various angles.
Software
Pixar used Maya as well as various 3D software, to produce this short film.
Art Style
The art style is all 3D, mimicking the art style of famous movies such as up or toy story, Perhaps the animators digitally sculpted the Volcanoes on high-end software or in turn they could have been created using polygons and vectors on Maya. Teh color scheme used for this particular story was very vibrant and tropical colors, colors such as orange and teal blue were highly present withing showcasing not only the tropical location they were located in but also the tender and sweet feeling of love, which is a present theme within this story.
Lighting
For this lighting was a big factor since the main aspects were the volcanoes lighting had to be prominent to define key features like rubble and a looming side of the volcano, as well as this shots that were drawing in the ocean the lighting had to be dark to represent to the dark ocean.
Conclusion
To conclude I enjoyed this short film a lot and to this day is one of my favorites, the expressive nature of the color scheme showcasing the emotions in this film as well as the creative and light animation style taken into account, This animation succeeds to bring across real hard-hitting human emotions in a childlike and almost pleasant way and that contrast intrigues me.
This Blog is highlighting my understanding and craving for knowledge when it comes to Maya. To showcase this I have collected images from various sources and compressed them in a moodboard that was made on photoshop. This mood board will show images of walk cycles, rigging and links to do with animation in general.
Within today’s blog, I am going to recap what was assigned during our Thursday lesson as well as explain what I did and how I reached my final outcome.
our class objective was to create and animate a moving arm showing brief understanding to muscle movements and joints.
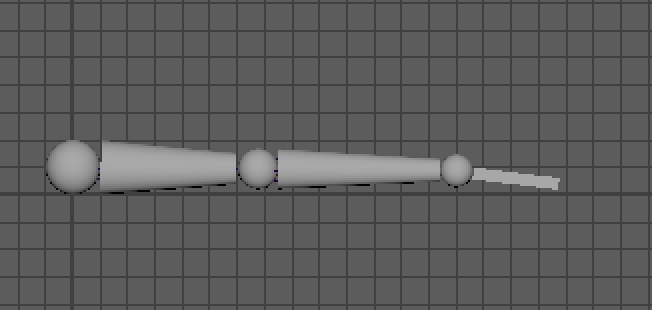
To begin Creating my arm I had to understand the basic shapes that form the arm itself, that being a cylinder, a sphere, and a cube. As well as this is needed to shape the arm itself so I distorted shapes such as the cylinder to thin it out giving a more realistic feel to the arm and adding a sense of proportion form the wrist to the bicep.
To animate the arm was simple feet taking into account that I see a majority of year one learning and animating using a similar layout (aftereffects) once I understood the process, as soon as I made the polygonal arm I had to make the skeleton, and once I created the skeleton I had to pair the joints with the points to be able to fully rig the arm. I achieved this my using the parent tool and parenting them. all I had to do then was select the skeleton of the hand, once they were both selected, I parented ,them, I repeated this process with the forearm, and upper arm.Now that they were fully connected I began animating by implementing keyframes, animating each part of the arm, eg: wrist, forearm and bicep. By the end I was able to mimic a stranded waving motion by animating the arm to move up and down. if I could find something to improve on it would be to make the arm look more realistic as it s moving as the movement mimic that of a robot, I could achieve this by adding rotation to the wrist and playing around with different variables.
Once I was satisfied with the end result, I pressed 3 on the keyboard, and all that does is smooth out the object, and I thought it was a nice touch as arms are more smooth than circles, rectangles, and cylinders.
The purpose of this blog is to inform the reader of the planning that I had to undergo before attempting my animation, as well as watching videos on YouTube I found and put together a mood board full of relevant photos linked with human anatomy associated with animation. I do this research to further my ln knowledge in animation, as well as to be as precise as possible when it comes to manipulating and adding keyframe to my sprite giving my animation a realistic and lifelike tone. Alternatively as I am rushed for time I wont be adding any extravagant moves or animations to my sprite character however I will be adding the basics and I will be animating my sprite to get from the Beginning of the obstacle course to the end overcoming and completing the obstacle course given on Maya
Special effects artists create mechanical, optical and computer-generated effects that are used in video games television shows, music videos or movies. They must be combined with computer programs that create effects. As well as this. A major part of the job is it requires major work effort and the ability to meet deadlines.
Modeling
3D modeling is a technique in computer graphics for making a digital copy of any object or surface. … The 3D process produces a digital object that is able of being fully animated, This makes this process a crucial step character animation and special effects, and is never often overlooked.
Rigging
rigging is the process of creating a skeleton for a 3D model so it can move. this is achieved being able to move and edit character keys deforming and moving characters, characters are rigged before they are animated because if a character model doesn’t have a rig, they can’t be deformed and moved around.
Surfacing
the Reasoning behind surfacing is to enhance the appearance of characters, props, and environments in an animated films. Usually surfacing artists are responsible for demanding and complex surfacing setups stated by professional art director, production designer, and director of the films.
Rough layout
the reasoning behind rough layout is to plan out the camera positions, and going from a 2D animatic and create a rough 3D version. it’s a rough 3d animatic. Its basically a plan that animators use to get and understanding where everything goes and how ot execute certain procedures.
Final layout
they create a high rez version of the original rough environments, they would add textures and set dress everything around the environment.
They create a stereo path, for where they want to audiences eyes to be drawn to.
Crowds
This feature is to allow crowds to be animated in big sconces of films such as a football game or a concert, instead of drawing each individual person they program npcs to activate at certain times, they used a “BRAIN” to automate the crowd motions.
Character effects
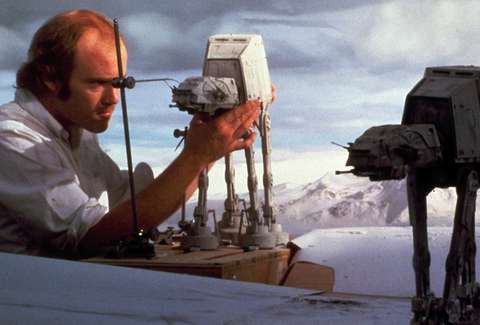
This process allows alterations to occur in Characters such as hair density, Clothes or anything that the Character must be in contact with, a great example, is animating Tarkin in Rouge one a star wars story.
FX
sound or visual effects used in film, TV, or music used to create exaggerated effects such as laser swords, explosions beams and much more.
Matte painting
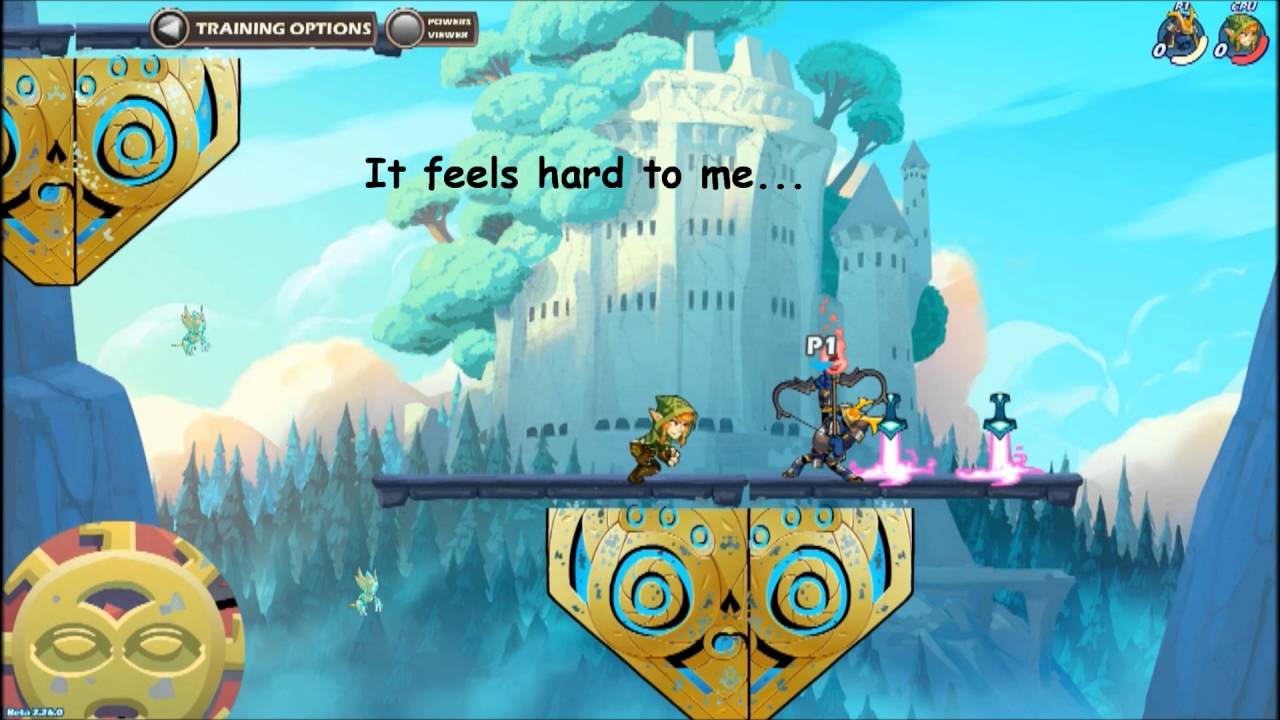
Matte paintings are one of the original VFX techniques used in filmmaking. the aim is to to represent a landscape, set, or distant location that allows filmmakers or game designers to set the scene and create a illusion of an environment that is not present at the filming location. A game that highlights this is Brawhalla having s matte background of each arena to se the scene.
Lighting
Lighting is used to exaggerate and bring a scene alive, usually can be noticed in houses or night and light scenes. they have to understand the physics of light before anumaiting it in a scence, this allows the scence to loo and feel as realistic as possible
Image FInaling
Used to render a scene fully and polish up any imperfections
Sound design
Composers write the music that can implemented in software such as logic to fiddle with Eq or reverb to create a perfect soundtrack to integrate it into the movie.


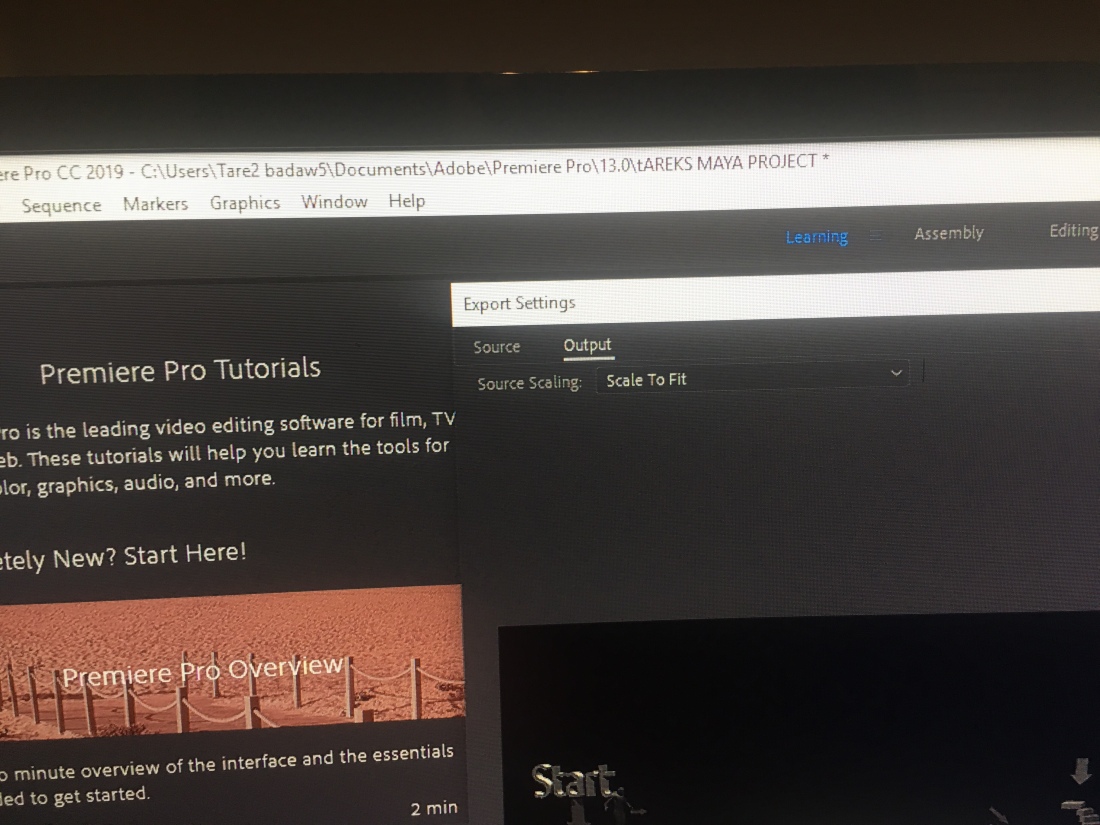
 import to premier pro to export to YouTube