Within today’s blog, I am going to recap what was assigned during our Thursday lesson as well as explain what I did and how I reached my final outcome.
our class objective was to create and animate a moving arm showing brief understanding to muscle movements and joints.
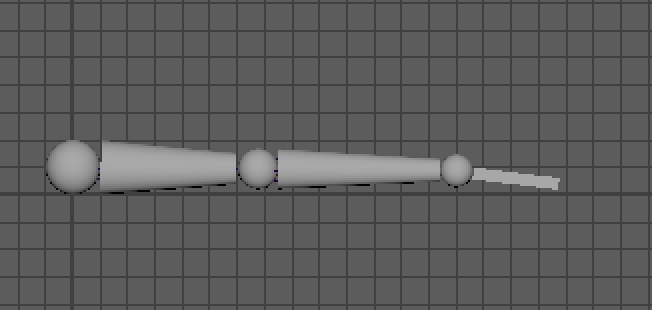
To begin Creating my arm I had to understand the basic shapes that form the arm itself, that being a cylinder, a sphere, and a cube. As well as this is needed to shape the arm itself so I distorted shapes such as the cylinder to thin it out giving a more realistic feel to the arm and adding a sense of proportion form the wrist to the bicep.
To animate the arm was simple feet taking into account that I see a majority of year one learning and animating using a similar layout (aftereffects) once I understood the process, as soon as I made the polygonal arm I had to make the skeleton, and once I created the skeleton I had to pair the joints with the points to be able to fully rig the arm. I achieved this my using the parent tool and parenting them. all I had to do then was select the skeleton of the hand, once they were both selected, I parented ,them, I repeated this process with the forearm, and upper arm.Now that they were fully connected I began animating by implementing keyframes, animating each part of the arm, eg: wrist, forearm and bicep. By the end I was able to mimic a stranded waving motion by animating the arm to move up and down. if I could find something to improve on it would be to make the arm look more realistic as it s moving as the movement mimic that of a robot, I could achieve this by adding rotation to the wrist and playing around with different variables.
Once I was satisfied with the end result, I pressed 3 on the keyboard, and all that does is smooth out the object, and I thought it was a nice touch as arms are more smooth than circles, rectangles, and cylinders.